#4 – 20133 102nd Avenue, Langley, B.C. V1M 4B4 Canada

#4 – 20133 102nd Avenue, Langley, B.C. V1M 4B4 Canada
Understanding a Condensing Unit Wiring Diagram can be daunting. Many technicians struggle with this specialized knowledge. John Smith, a seasoned HVAC expert, once said, “Mastering wiring diagrams is the key to efficient repairs.” His words resonate within the industry. Each line and symbol has its significance, and comprehending them is crucial.
Every detail in a Condensing Unit Wiring Diagram plays a role in the system's overall function. Misreading a single component can lead to costly errors. Technicians are often faced with intricate diagrams. They can seem overwhelming at first glance. However, with practice and the right guidance, clarity emerges.
Getting familiar with these diagrams is essential for HVAC professionals. Often, it’s not just about knowing the schematics. It’s about applying that knowledge effectively. The challenge lies not only in understanding but also in troubleshooting. A wiring diagram is a puzzle waiting for the right expert to solve it. Are you ready to take on the challenge?
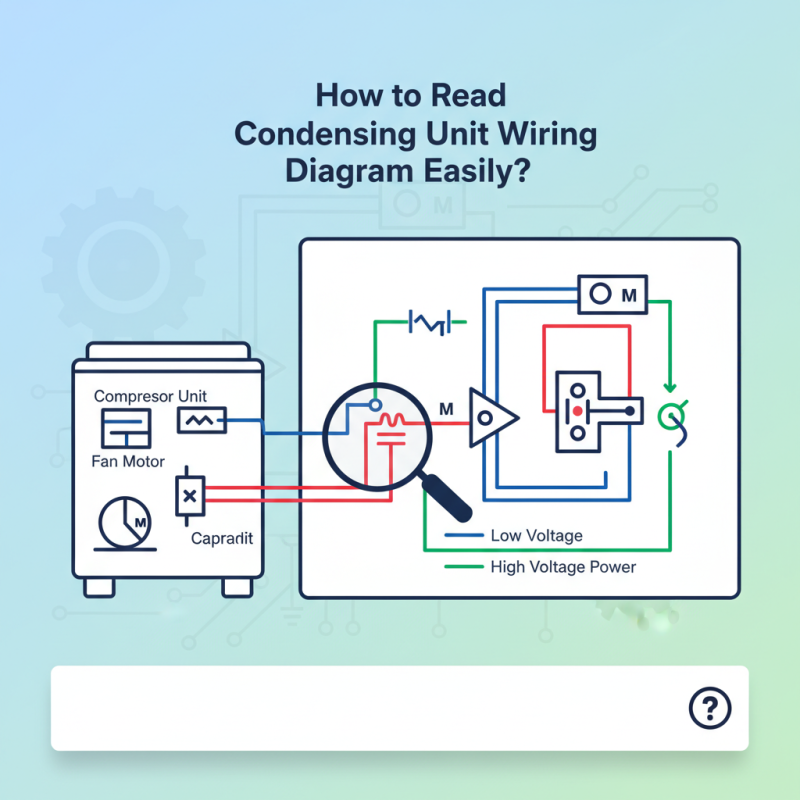
Understanding the basics of condensing unit wiring diagrams can make troubleshooting much easier. These diagrams show how electrical components are connected within the system. When you study a diagram, pay attention to the symbols used. Each symbol represents a specific component, like a compressor or a thermostat. Familiarizing yourself with these symbols is crucial for understanding the system.
Next, observe how the wires connect different components. Different wire types have unique functions, such as power supply or control signals. This knowledge helps you identify potential issues. For example, a broken wire can disrupt the entire system.
It’s also important to note that not all diagrams are perfect. Some may have unclear labels or missing details. This can lead to mistakes during repairs. A thoughtful approach helps in verifying connections before proceeding with any work.
When approaching a condensing unit wiring diagram, recognizing key components is crucial. Begin by locating the power supply terminals. These are often labeled and provide a clear starting point for understanding the entire system. Commonly, you'll spot a contactor, which acts as a switch controlling the compressor. Identifying these elements right away simplifies the process.
Next, focus on the compressor wiring. The diagram usually features specific color codes for each wire. Familiarizing yourself with these will save time and reduce confusion. Additionally, look for safety devices like fuses or circuit breakers. These components protect the system but can be overlooked by beginners.
It can be frustrating to differentiate between various components. Diagrams might look complex at first glance, and wires may overlap. Don't hesitate to take notes. Marking areas of uncertainty can help in later discussions with professionals. Mistakes often arise from misinterpretation of symbols. Therefore, engaging with the diagram step by step can improve comprehension.
Reading a condensing unit wiring diagram can feel overwhelming at first. However, mastering electrical symbols is essential for understanding these diagrams effectively. Electrical symbols represent various components in the system. For example, a circle may represent a junction box, while lines indicate wires. Each symbol has a specific meaning, making it crucial to familiarize yourself with them.
When approaching a wiring diagram, start by locating the legend. The legend provides definitions for the symbols used. As you study the diagram, refer back to the legend for clarity. This will help reinforce your understanding of what each symbol signifies. Note any symbols that seem confusing. Don't rush; take your time to comprehend their meanings.
Tips: Use colored pencils to highlight different components. It makes patterns more visible and memorable. Also, practice sketching symbols from memory. This reinforces your learning and aids recall in real scenarios. Expect some initial confusion; it’s all part of the learning process. With patience, you’ll find clarity in these intricate diagrams.
| Symbol | Description | Usage |
|---|---|---|
| ⚡ | Electrical Power | Indicates where power is supplied |
| 🟢 | Ground Connection | Demonstrates ground wiring |
| 🟡 | Compressor | Shows connection to the compressor |
| 🔵 | Capacitor | Indicates capacitor connections |
| 🔌 | Electrical Connection | Represents connections between components |
| 🟠 | Fan Motor | Displays connections for the fan motor |
Understanding common wiring configurations is crucial for anyone working with condensing units. Each model may have a unique setup, and recognizing these differences can save time and reduce errors. For instance, a typical setup involves a compressor, a fan motor, and a capacitor. Each component has specific terminals, and miswiring can lead to system failure.
In many configurations, you'll find color-coded wires: black for power, white for neutral, and green for ground. This standardization simplifies installations. However, not every unit adheres strictly to these color codes. Caution is necessary. Always refer to the specific diagram that accompanies the unit.
Reading these diagrams can feel daunting. Many people struggle with identifying component symbols or relationships. Going over a few diagrams daily can build familiarity. Finding a mentor to discuss tricky parts can also deepen your understanding. Small mistakes, like mixing up a capacitor with a relay, can lead to malfunction. Recognizing and learning from these imperfections is essential for improvement.
Troubleshooting wiring issues in condensing units can often be daunting for technicians. Understanding the wiring diagram is crucial for effective troubleshooting. A significant percentage of HVAC failures, approximately 30%, can be traced back to wiring issues. This underscores the importance of grasping the intricacies of wiring diagrams.
When approaching a wiring diagram, identify key components like contactors, overloads, and relays. Look for common issue indicators such as burnt connections or frayed wires. These visual clues can save time and reduce frustration during repairs. Be sure to use a multimeter to test connections, as improper voltage can lead to equipment damage. Many technicians overlook this crucial step, leading to repeated visits and unnecessary expenses.
Tips: Always refer to the specific diagram for the model you are working on. Use different colors to mark issues on your diagram. This will keep you organized and focused.
Yearly, the HVAC industry loses billions due to mishandling equipment repairs. One of the main culprits is inadequate understanding of wiring diagrams. Familiarizing yourself with common faults in wiring will enhance your troubleshooting speed. Don't ignore the details; they matter significantly in effective repair strategies.